
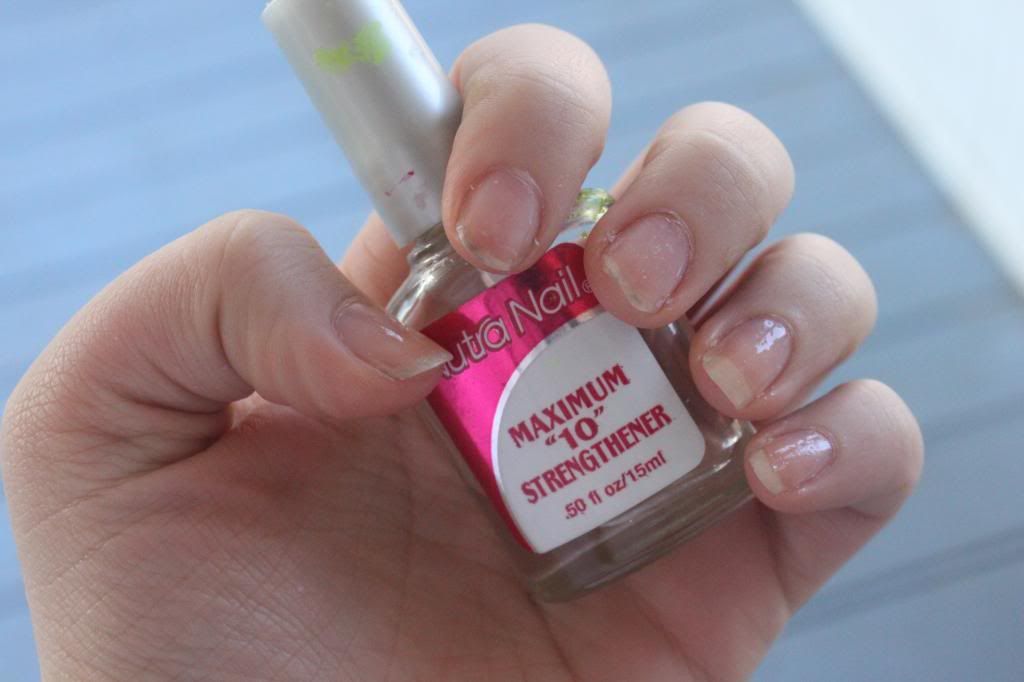
1) Apply a good base coat to ensure a longer-lasting color and better color. I used one from NutraNails.
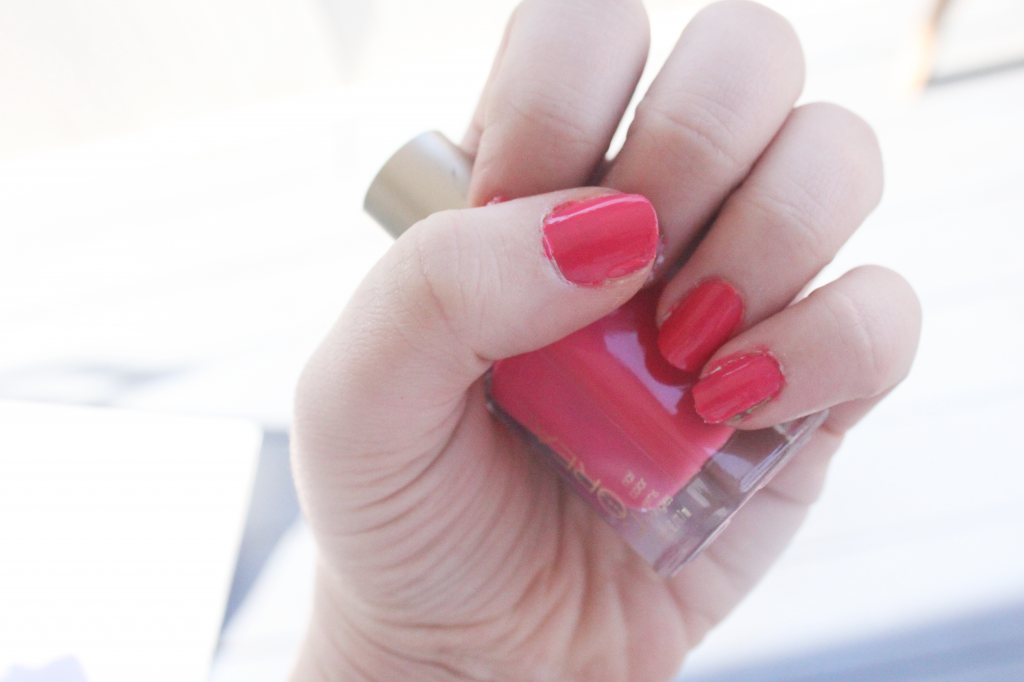
2) Apply two coats of a pink polish evenly on all nails. I used a L'Oreal Color (it's old!), but you can use any shade of pink you'd like to have as the prominent.
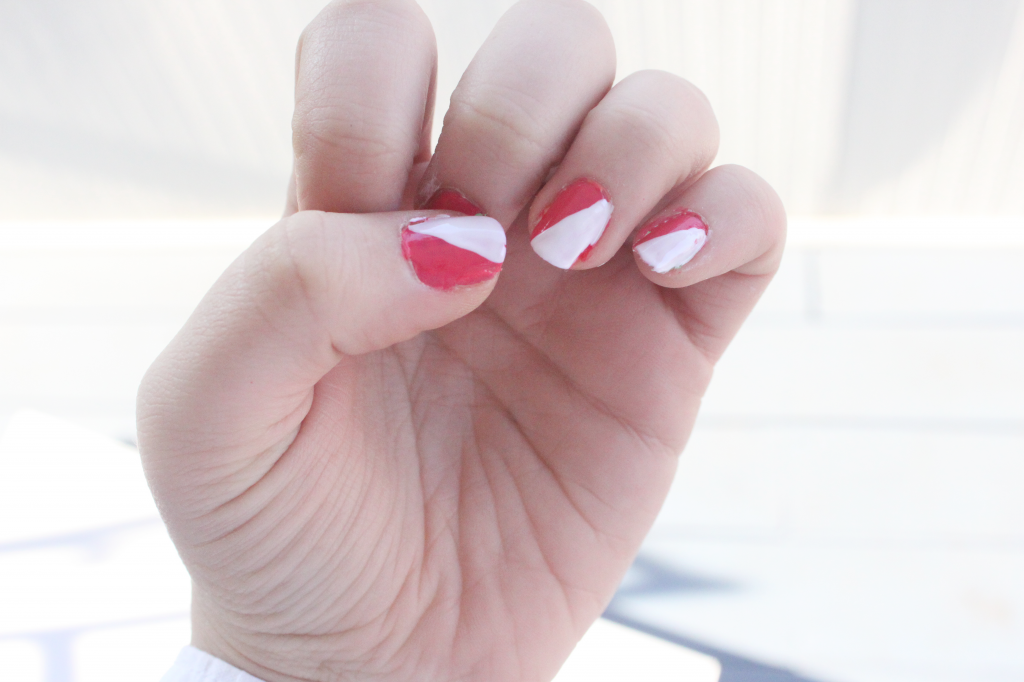
3) Using a white polish, apply it at a slant across a little less than half the nail. Repeat on all nails. For the opposite hand, apply on the other side. This step doesn't have to be perfect, just make sure the line is relatively straight.
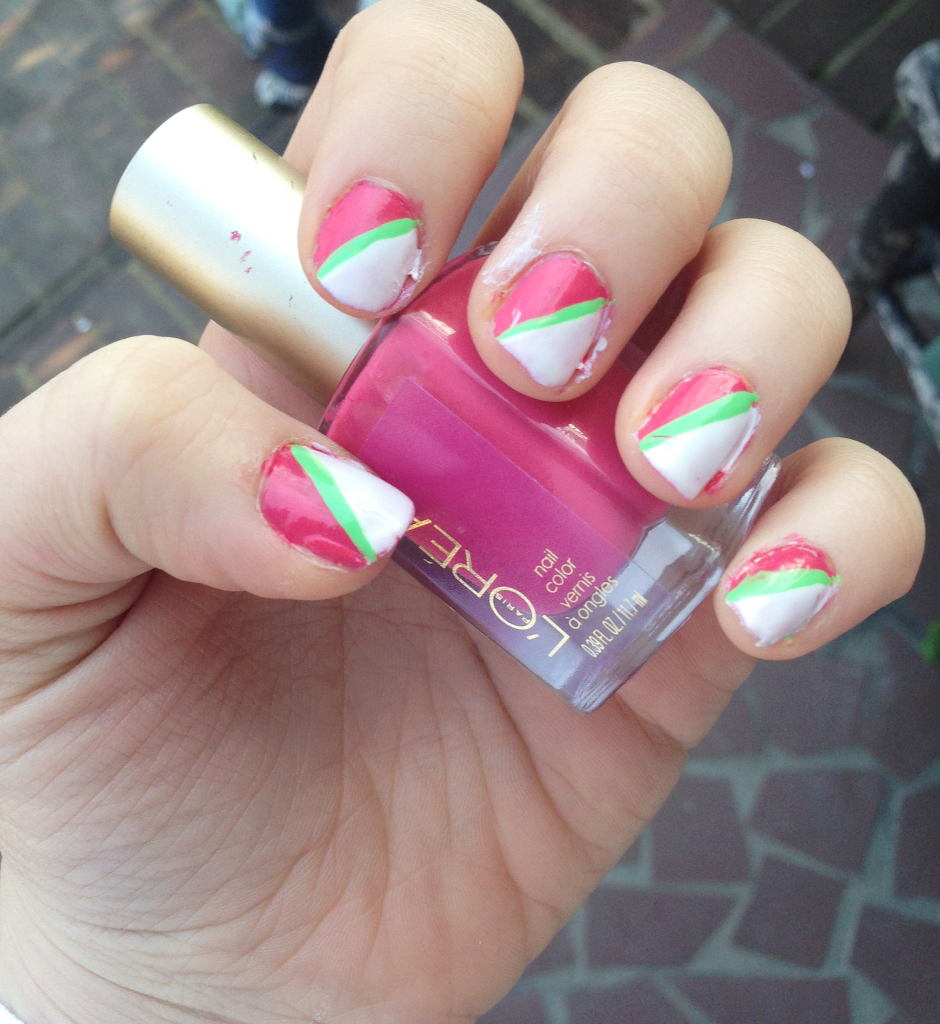
4) Using a thin nail art specific brush or a toothpick, apply a bright green line across the edge of the white chunk to create a divide between the colors.Don't worry about this line being perfect either, just be sure to cover up the edge of the white.
5) Don't forget to apply a top coat! Use whatever works best for you, but for best results, use a glossy one.
Tada! Your spring nails are sprung and ready. Get ready to rock them in the sunshine.


0 comments:
Post a Comment